Creating a $15 web controllable camera with Raspberry Pi Zero
It's been a while since I did a weekend project, but this weekend was one of these! I wanted to hack something together so I could view a live camera stream from anywhere in the world and control it (as in: rotate it left and right) with a simple web interface.
In this blogpost I'll describe what materials you need, how to stick them together and how to install the software. I opensourced it on Github, so the software part is only a matter of copying it and installing.
What you need?
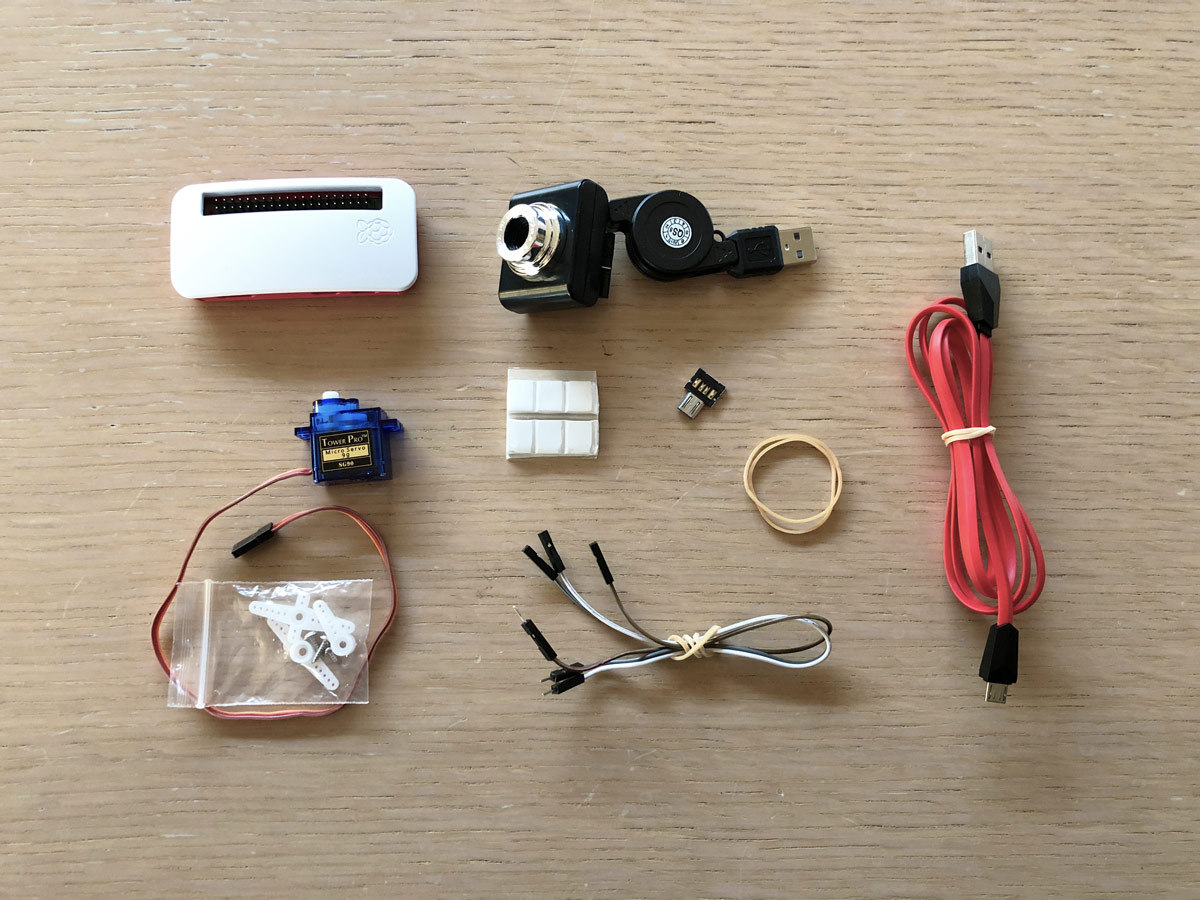
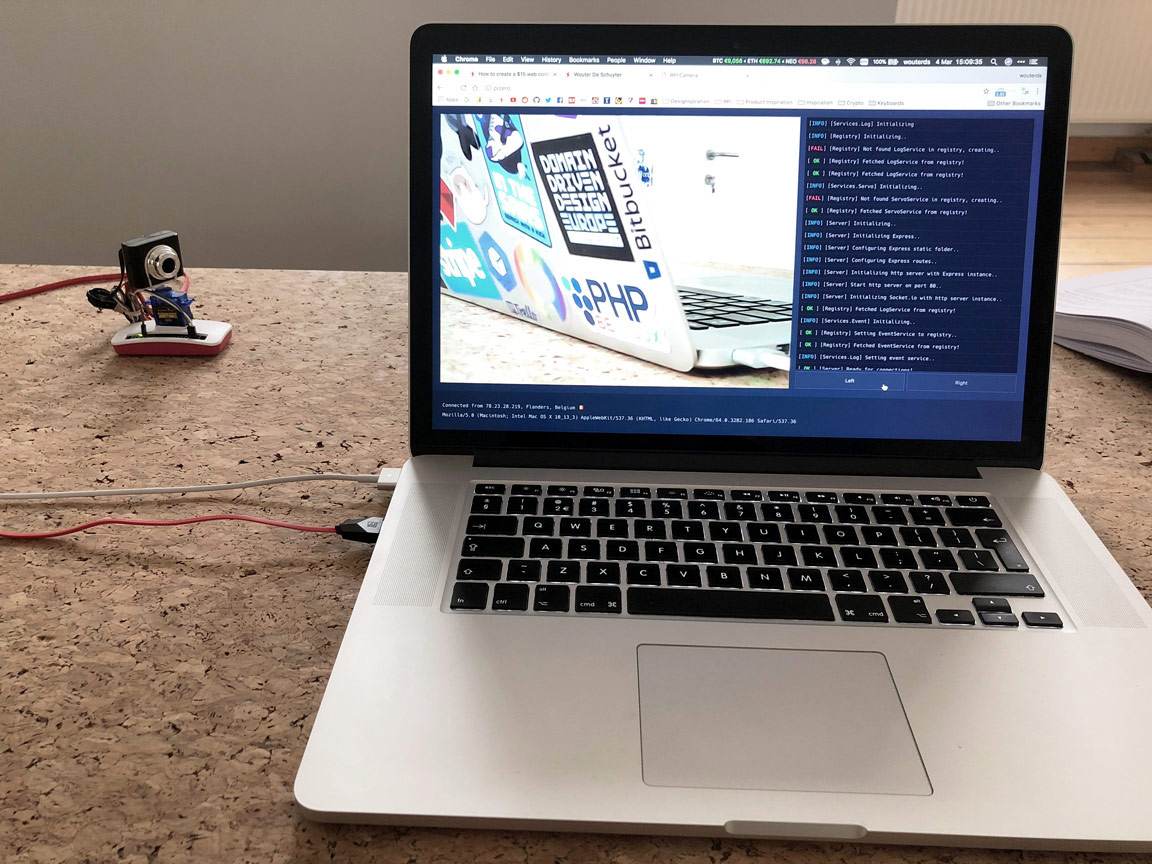
Let's get started by going over what you need. The picture below sums it up basically.
A Raspberry Pi Zero W with Raspbian (Lite) installed on it
A cheap USB webcam, you can get it on eBay for a few bucks
A micro servo motor, also, get it on eBay for a dollar
A micro USB male -> USB female converter
Some jump wires (male -> female)
Pritt Multi Tack (the white gummy-like things, it's to stick things together)
Optional: Some elastics

Sticking it all together
Breaking the webcam (or don't)
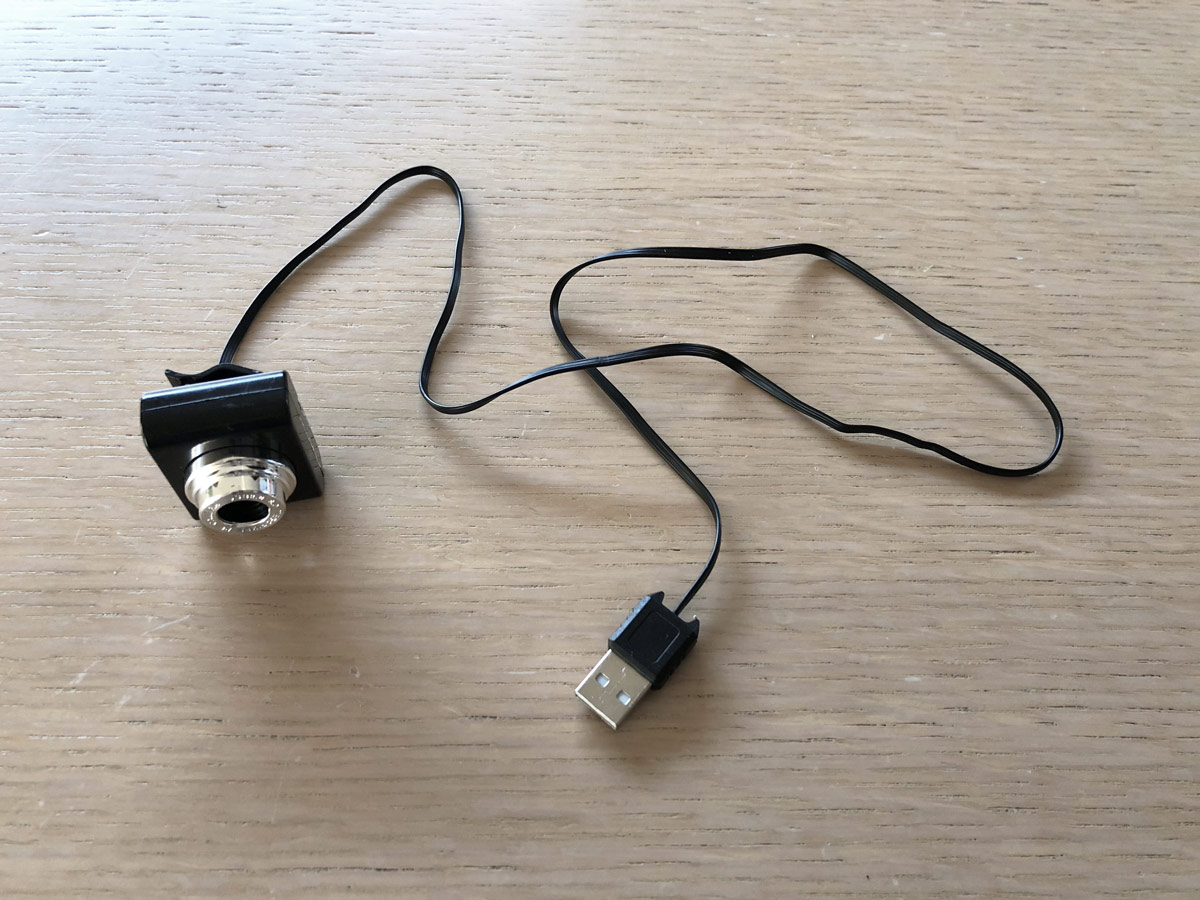
Now the first thing I did was breaking the handy retractable clip. There's a bolt behind the sticker, I removed it because I don't like it and have the full cable rather unfolded. If you have another webcam or don't really mind the retractable clip, just skip to the next step.

Mounting the servo head
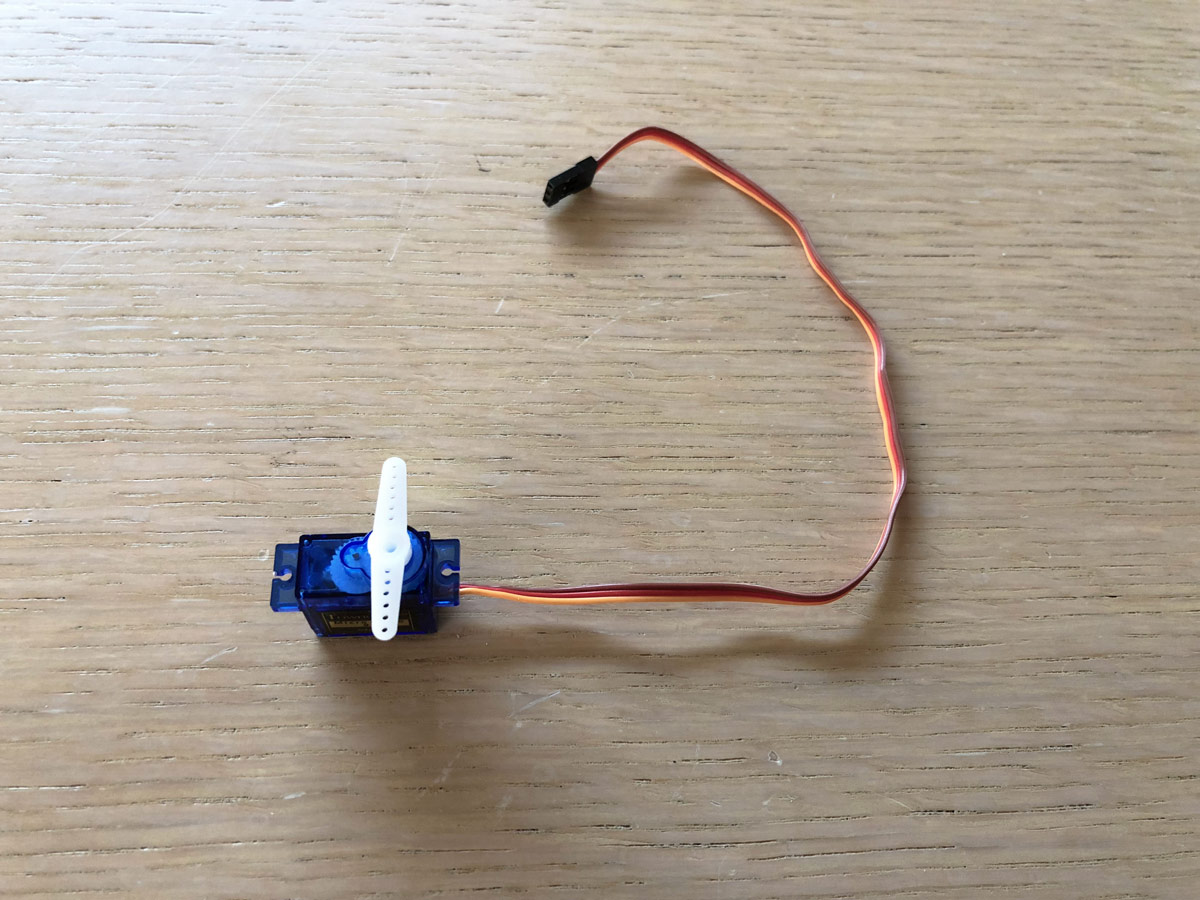
Next up; find the most semetrical head in the little bag that comes with the servo and place it on the servo wheel. This is where we'll be mounting the webcam on. Now it's possible the servo is not perfectly in the middle, you will notice this once we have everything connected and run the app. If it would not be aligned nicely in the middle, just take it off and put it back on it.

Mounting the webcam on the servo
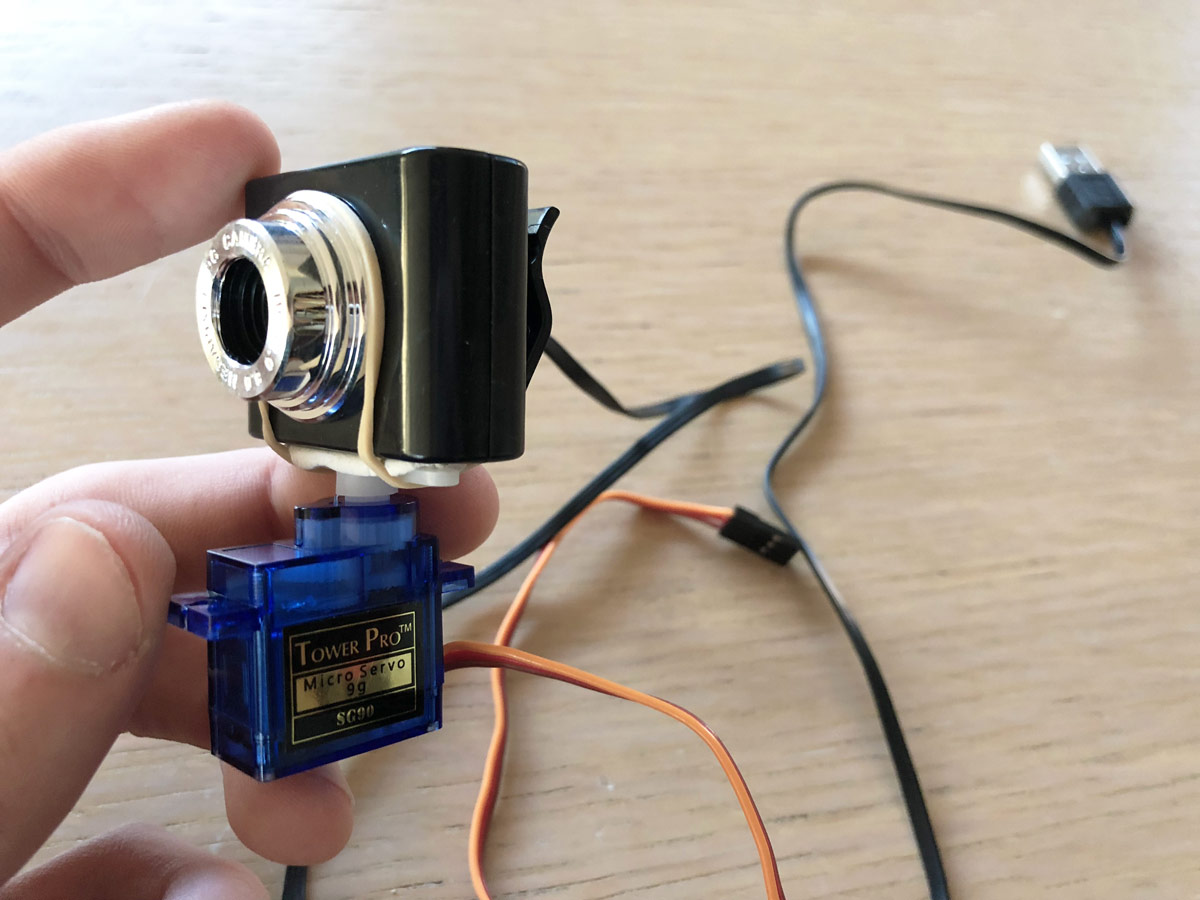
Put some of the Pritt Multi Tack glue on the servo head and gently push the webcam on it as you can see below. And just to be sure, I added an elastic around it as well.

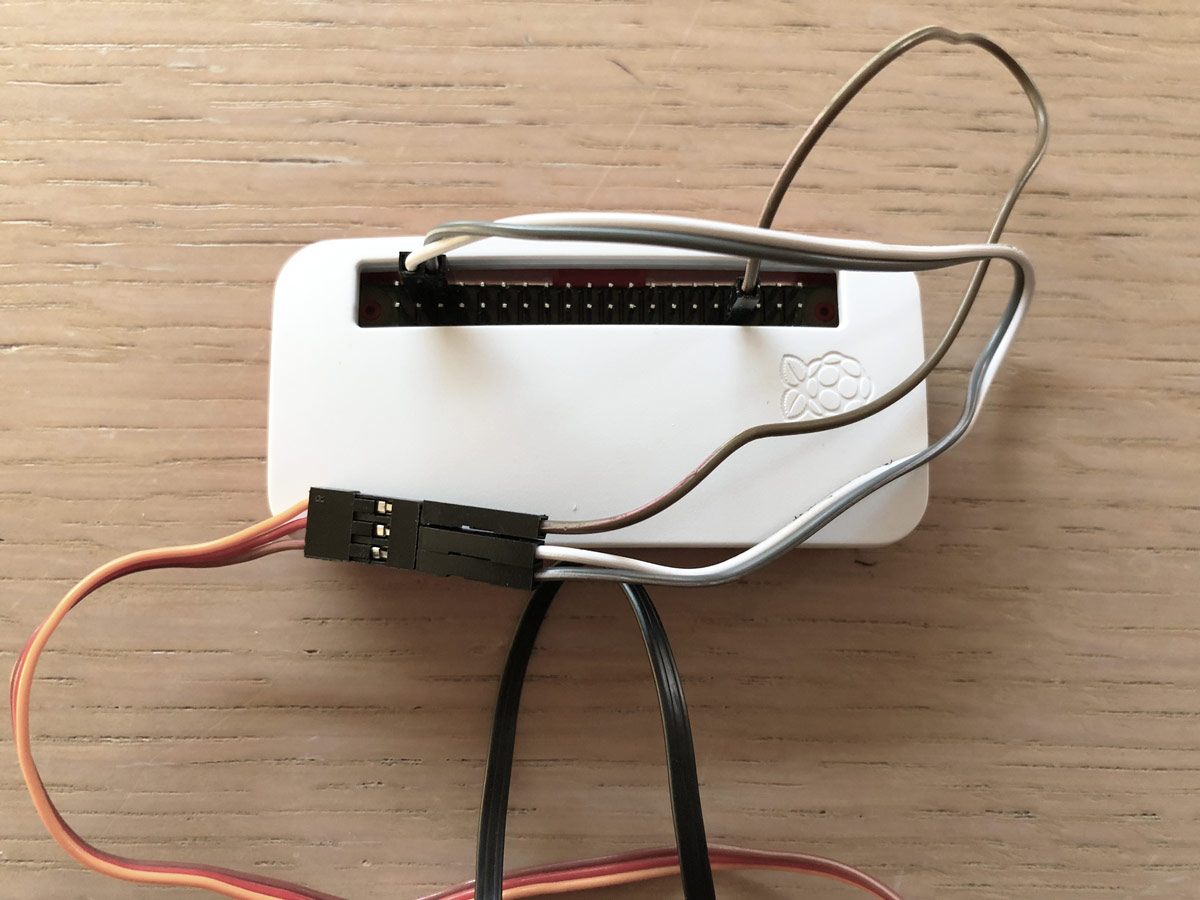
Connecting the servo the Pi
Connect the red servo wire to the +5V, the brown wire to GND and the orange one to GPIO13 on the Pi. I used pin 4 and and pin 6 for +5V & GND, pin 33 is GPIO13. If you're not sure where those pins are, make sure to check out pinout.xyz, very handy!

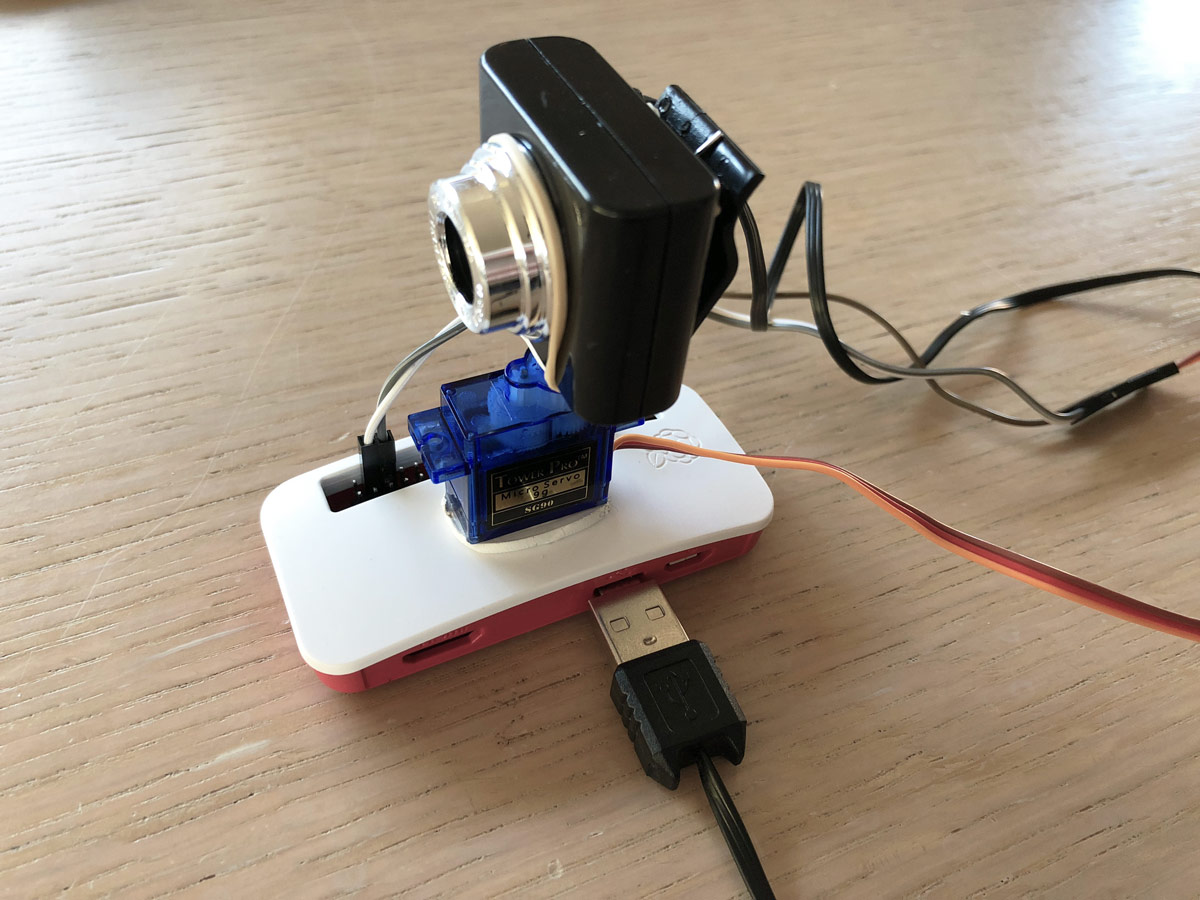
Sticking the servo on top of the Pi
Now that everything is connected we can dump the servo on the Pi housing, I used the remainder of the Pritt Multi Tack glue to mount the servo on the Pi housing.

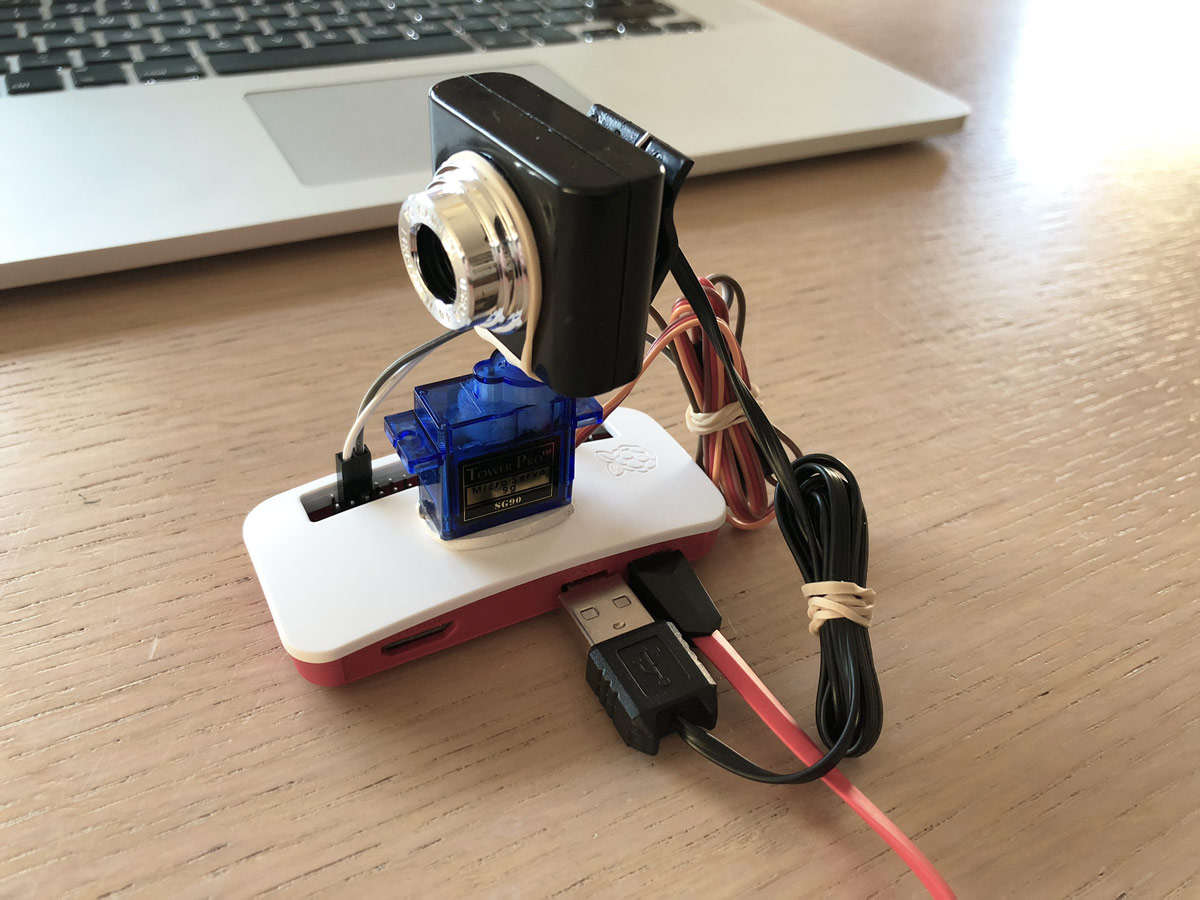
Clean things up
Lastly, I don't really like a lot of messy cables, so I put some elastics around those to clean that up.

Installing the software
Now before we dive into installing the dependencies and the actual app I've created for this, there are a few assumptions. I assume you have worked with the command line before and know how to install software on a headless Raspberry Pi through the command line. I also assume you already have Raspbian (Lite, I always use Lite, but not required) installed on the Raspberry Pi and that it is connected to your local network (have it connected with a network cable or at least Wi-Fi setup).
If you haven't installed Raspbian yet, head over here and follow the instructions.
Dependencies
MJPG Streamer
To run the camera stream from a USB webcam we'll make use of the package mjpg-streamer. Before we can install this we'll need to install a few dependencies first.
sudo apt-get update
sudo apt-get install libjpeg8-dev imagemagick libv4l-dev uvcdynctrl git cmake -y
After installing the dependencies, run the following commands to install mjpg-streamer.
git clone https://github.com/jacksonliam/mjpg-streamer.git
cd mjpg-streamer/mjpg-streamer-experimental
make USE_LIBV4L2=true clean all
sudo make install
sudo usermod -aG video pi
sudo modprobe bcm2835-v4l2
cd ../../
rm -rf mjpg-streamer
Start the camera livestream by running the following command.
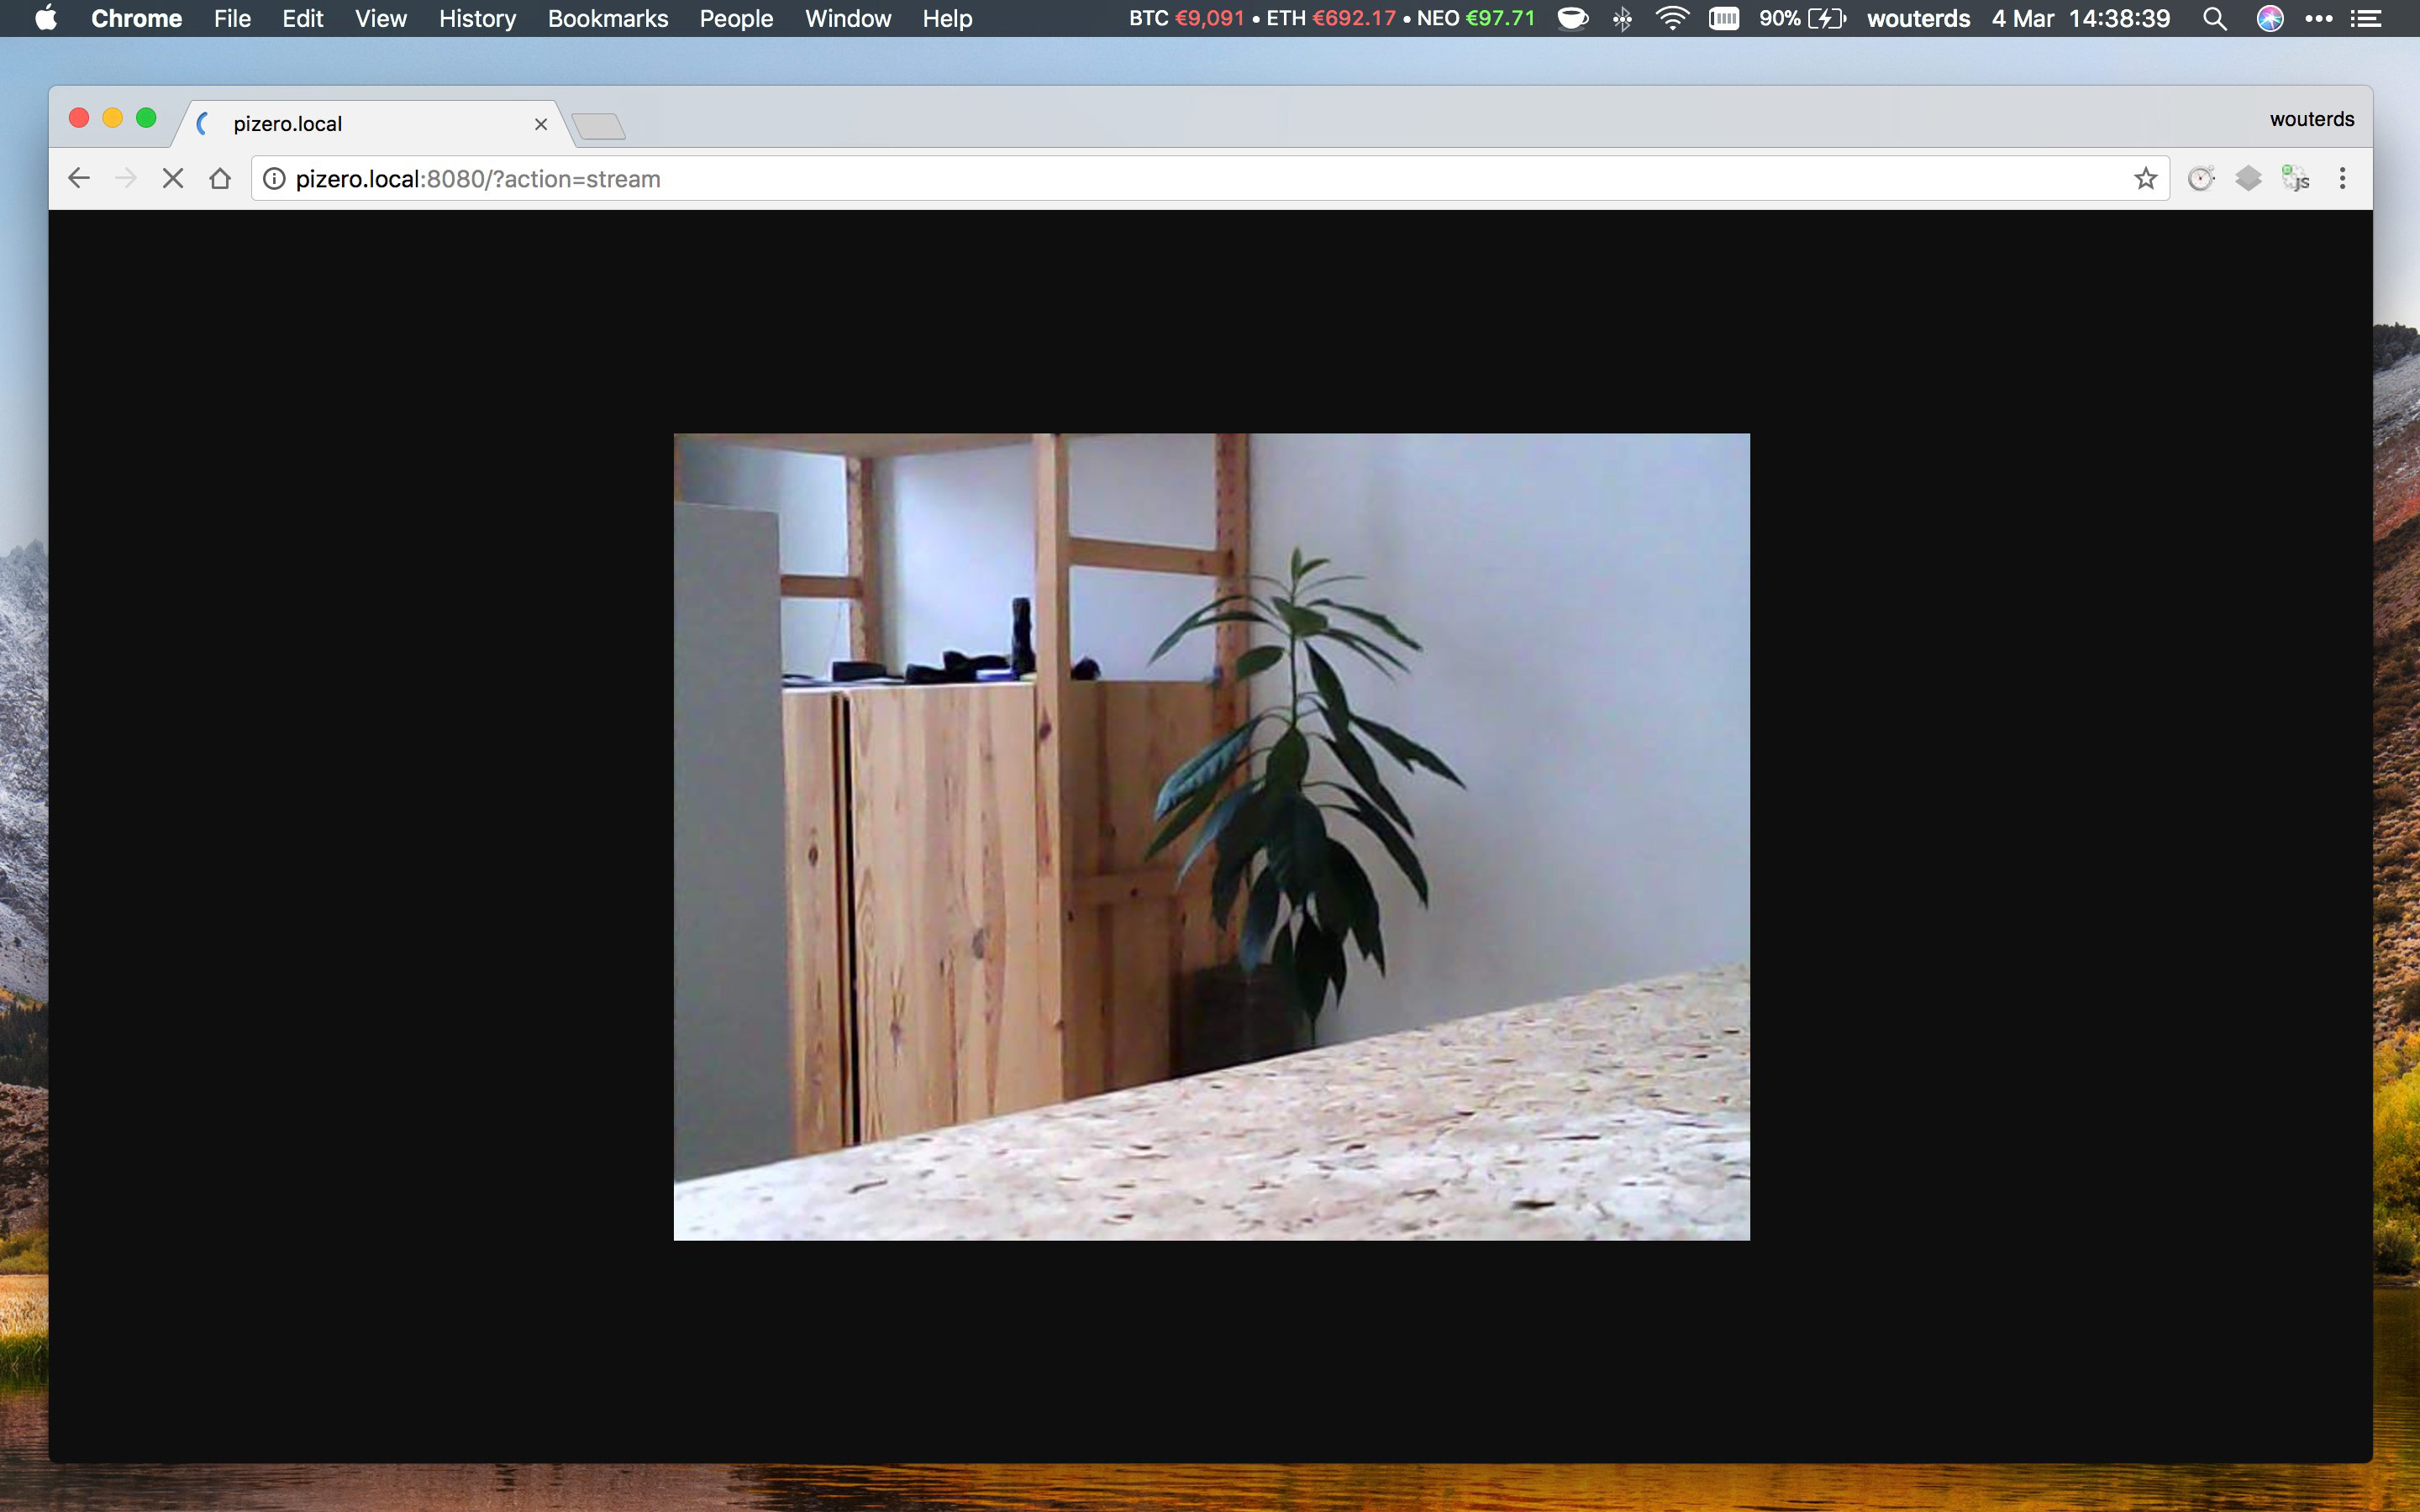
mjpg_streamer -i 'input_uvc.so --device /dev/video0 --fps 30 --resolution VGA --quality 65' -o 'output_http.so'If you followed all above instructions and everything went ok, you should now be able to see the stream when browsing to http://your-raspberry-pi.local:8080?action=stream. After you verified the stream is working, cancel by running ctrl+c and move on to the next section.

NodeJS
Our second dependency is nodejs, run the following commands to install.
wget https://nodejs.org/dist/v9.7.1/node-v9.7.1-linux-armv6l.tar.gz
tar xf node-v9.7.1-linux-armv6l.tar.gz
rm -f node-v9.7.1-linux-armv6l/*
pushd node-v9.7.1-linux-armv6l/
sudo cp -R * /usr/local/
popd
rm -rf node-v9.7.1-linux-armv6l
rm node-v9.7.1-linux-armv6l.tar.gz
Verify node and npm are installed successfully by running the following commands.
node --version
npm --version
This should give a similar output to this.
pi@pizero:~ $ node --version
v9.7.1
pi@pizero:~ $ npm --version
5.6.0
PiGPIO
This is a library that's internally used by the NodeJS app to communicate with the hardware. Run the following commands to install pigpio.
sudo apt-get update
sudo apt-get install pigpio -y
That should be it for the dependencies, congrats for reaching this point already 👏!
Installing the app
Start by cloning the repository to your Raspberry Pi by running the following command.
git clone https://github.com/wouterds/rpi-camera.gitNext cd into the directory and install the dependencies, note that this will probably take a while (it took about 20 minutes for me). If you don't want to wait you can try to download a compiled zip from the installation on my Pi Zero, however, I am not 100% sure if this will work everywhere.
cd rpi-camera
npm set progress=false
npm install
npm set progress=true
Now build the frontend app by running the following command, this only needs to happen once.
npm run buildStarting the app
Run the following scripts to start the webcam in the background and the app in the backgroundd, note that this might take a few seconds. The servo will run a test check and rotate a few times. After it finished it should be looking straight, if not take the servo head off and place it back on it so it is pointing straight. You should now be able to browse to your Raspberry Pi Zero and control it using the web interface.
./scripts/camera-stream-start.sh
./scripts/server-start.sh
Don't want to run the app in the background and see the console output? Just run sudo npm start.
Autostart on boot
Add the following to /etc/rc.local before exit 0.
cd /home/pi/rpi-camera
./scripts/camera-stream-start.sh
./scripts/server-start.sh
And that should be it, enjoy! 🎉

PS: I know it's not the most beautiful written piece of code ever, but it's readable and does the job, I just quickly hacked it together to get something working 😌!
PS PS: When I first tried out a USB webcam on a Raspberry Pi a few years ago there was little documentation on how to do this. I just quickly Googled around before publishing this blogpost and noticed there's already a gazillion guides like it by now. In any case, I already put quite some effort into this and don't want to quit now, so here's another one 🤷♂️..